How to Shape a Sourdough Boule: 3 Methods for Beginners
📖 7 min read · Updated July 2026
By SourdoughCalc Team
Shaping is the step that intimidates most home bakers. A loaf that spreads flat in the oven is almost always a shaping problem, not a fermentation problem. Here are three methods for shaping a tight, round boule (ball) that holds its shape during the final proof and bakes up tall.
Why Shaping Matters
Shaping does two things: it expels excess gas and it builds tension on the outside of the dough. The tension is what holds the shape during the final proof. Without tension, the dough relaxes and spreads. The bread rises outward instead of upward. Tight shaping = tall, round loaf. Loose shaping = flat, wide loaf.
Tools You Need
A bench scraper (also called a dough scraper or bowl scraper). This is the single most important tool. A plastic one costs $3. Use it for everything: dividing dough, lifting dough, shaping.
Optional: a banneton (brotform) or a tea-towel-lined bowl with rice flour. This holds the shape and gives the bottom of the loaf a nice pattern.
Before You Shape: Pre-Shape
Always do a pre-shape first. This rough shape relaxes the gluten, makes the final shape tighter, and is essential for a boule. Skip the pre-shape and the final shape is harder and less effective.
Method 1: The Simple Round (Beginner)
This is the easiest method. The result is a free-form boule that looks rustic and works for most home bakers.
- Tip the dough onto an unfloured counter. Use a bench scraper to lift it off.
- Use the scraper to fold the four sides of the dough toward the center, like wrapping a present. Use the scraper to keep tension.
- Flip the dough over so the smooth side is up and the seams are on the bottom.
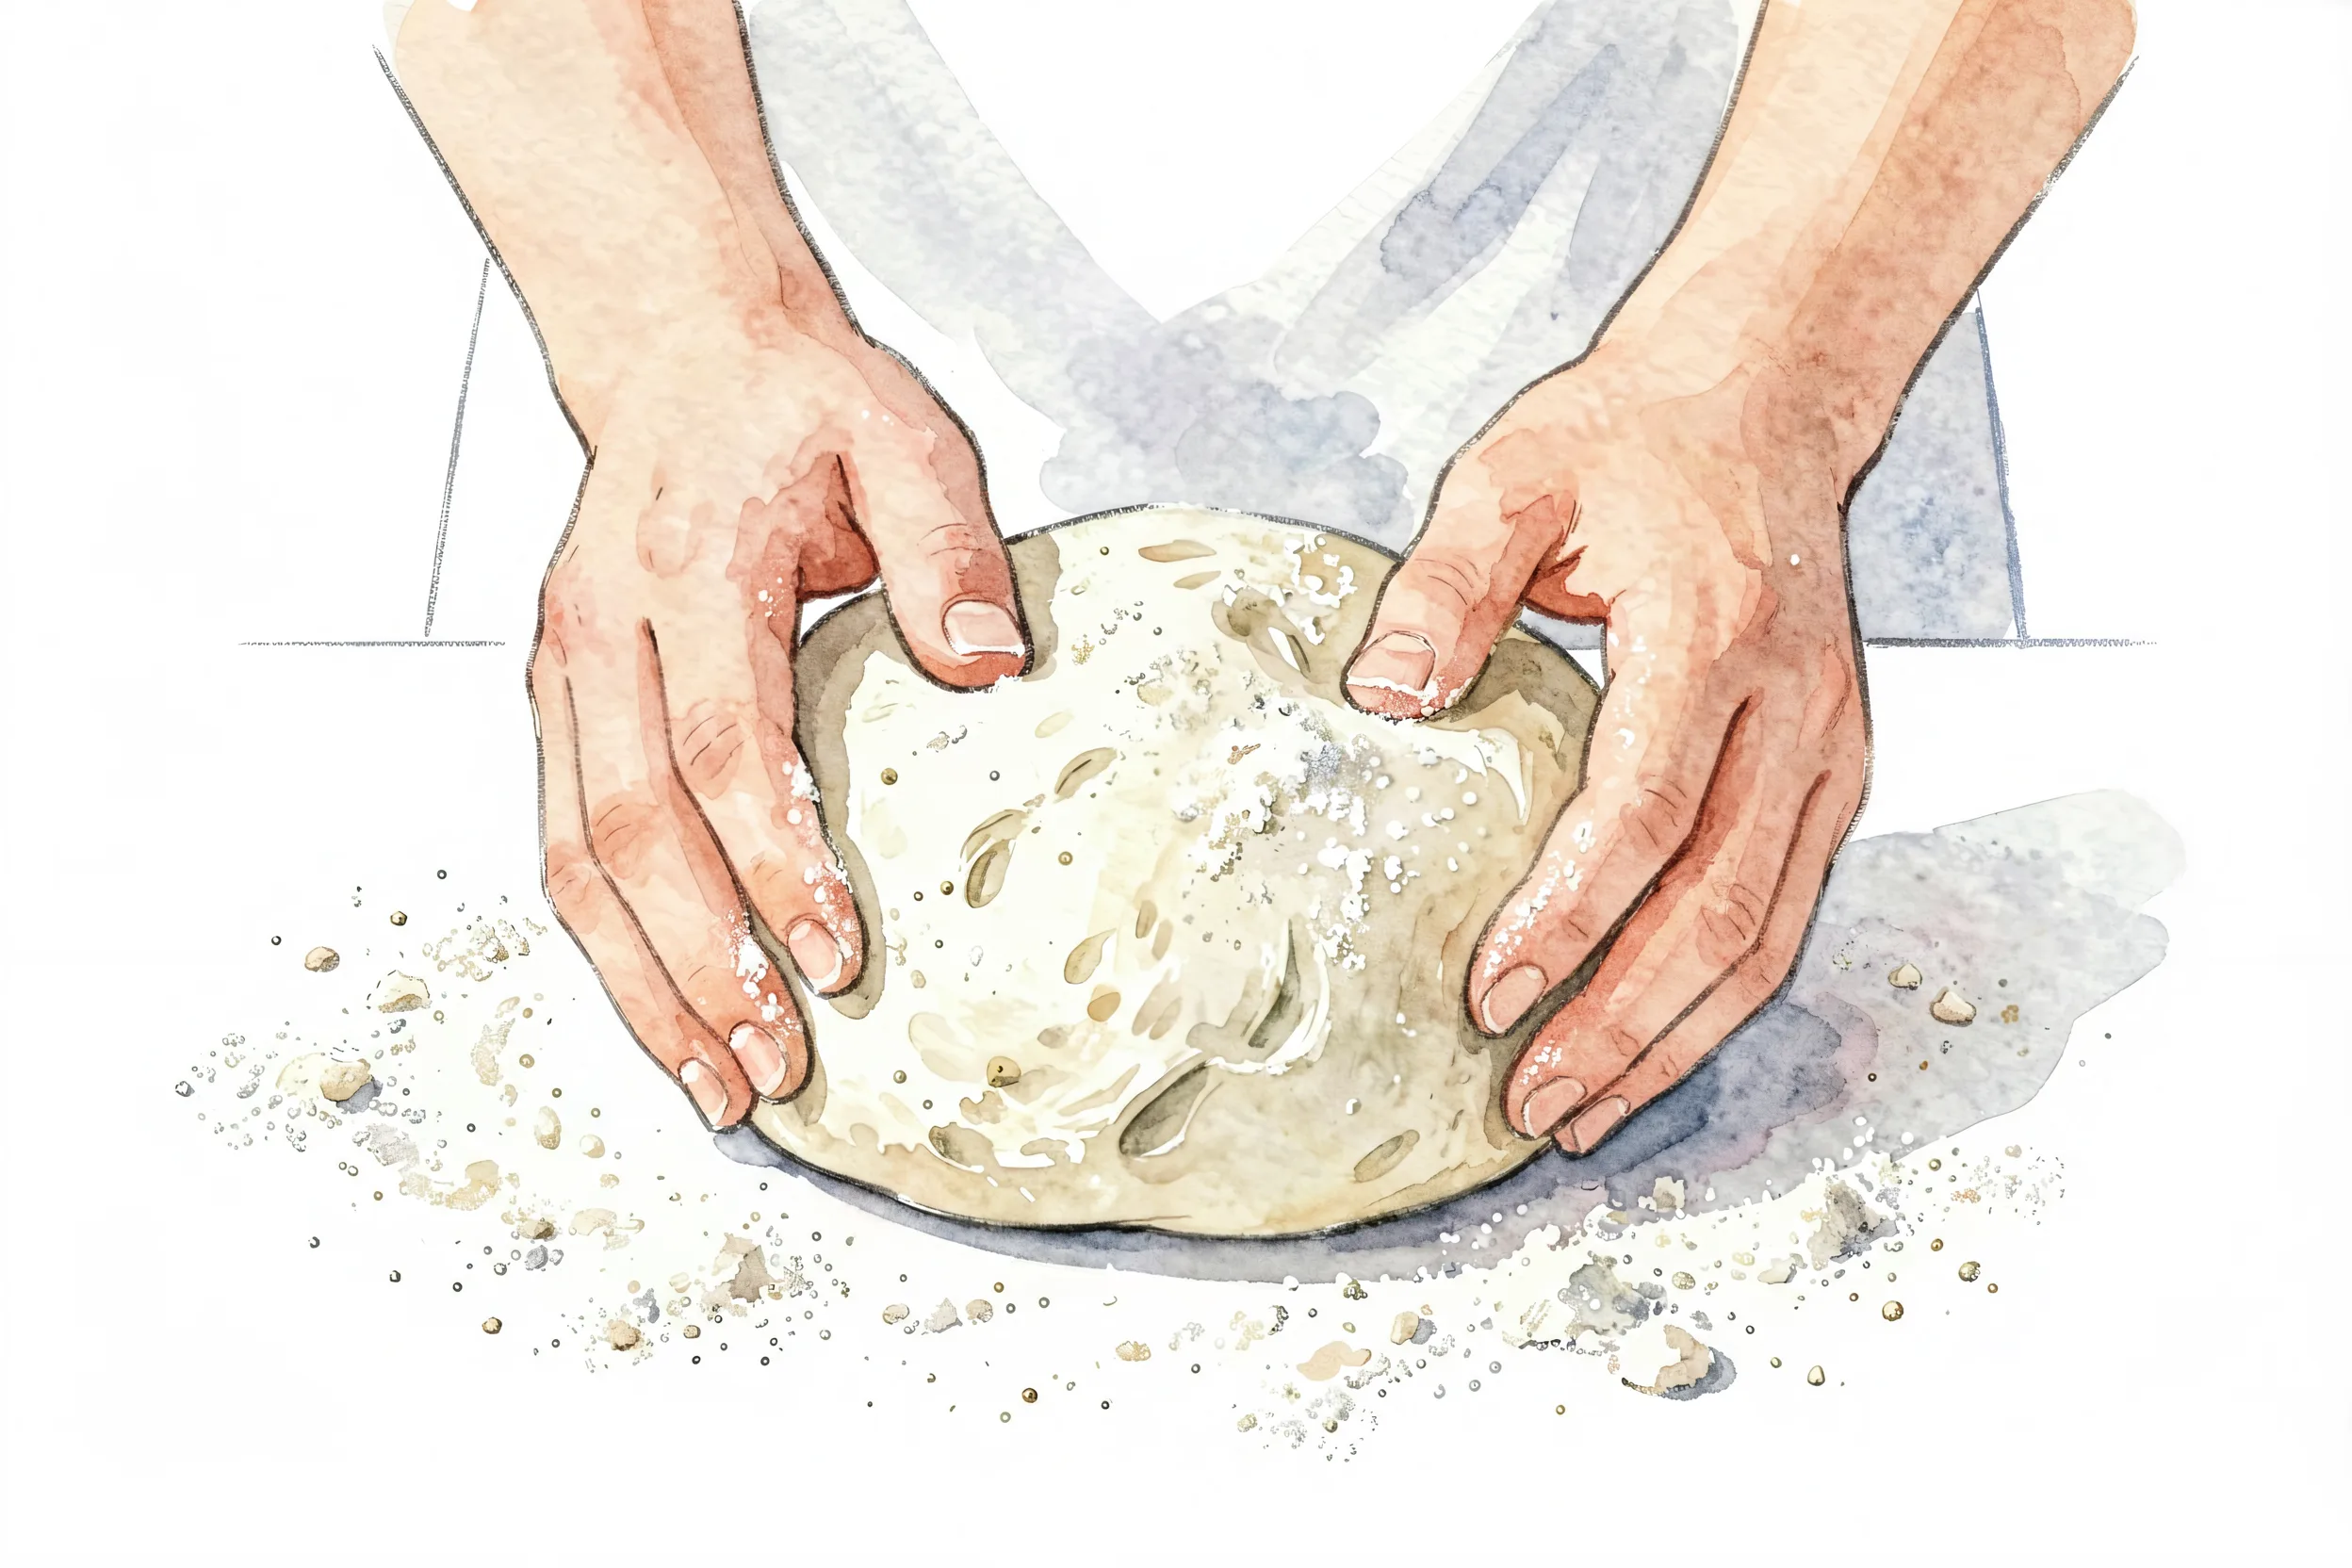
- Use cupped hands to drag the dough toward you, creating surface tension. The scraper underneath prevents sticking.
- After 4-6 drags, the dough should feel firm and spring back when poked.
- Set the dough seam-side up in a banneton or tea-towel-lined bowl.
Method 2: The Tight Round (Better)
This method produces a tighter, more uniform boule. Better oven spring. More uniform crumb.
- After pre-shape, let the dough rest 20-30 minutes (covered). This relaxes the gluten.
- Flip the dough so the smooth side is down and the seam (where you folded) is up. This seam will become the bottom of the boule.
- Use the bench scraper to lift the edge of the dough nearest you, pull it up and over toward the center. Press it down gently to seal.
- Rotate the dough 90 degrees. Repeat: lift the near edge, pull over to the center, seal.
- Rotate 90 degrees again. Repeat. Repeat one more time (4 total folds).
- Flip the dough over so the smooth side is up. Cup your hands around it. Use the bench scraper underneath as you drag the dough toward you in small circles.
- When you can feel strong surface tension (the dough is taut, not slack), stop. The boule is shaped.
- Set seam-side up in a banneton.
Method 3: The Pro Round (Advanced)
This is what bakeries do. It produces the tightest shape. Worth learning if you bake often.
- Pre-shape and rest as in Method 2.
- Flip dough smooth-side down. Use the scraper to stretch the dough outward slightly, creating a slight oval shape.
- Fold the left third over the center. Fold the right third over the center (like folding a letter).
- Fold the top third down. Fold the bottom third up.
- Now you have a small package. Flip it over so the smooth side is up.
- Cup both hands around the dough. The fingers of one hand act as a wall; the other hand rotates the dough while pressing down. You are creating tension by dragging the bottom of the dough against the counter.
- Rotate the dough in small circles 4-6 times. Each rotation should tighten the surface.
- The boule should feel like a tight ball with a taught skin. If it feels slack, you are not creating enough tension.
- Set seam-side up in a banneton.
Common Mistakes
Flouring the counter too much: The dough needs to grip the counter slightly to build tension. A heavily floured counter causes the dough to slide around and not build tension.
Shaping too tightly: The dough should be taut but not rigid. If you shape too aggressively, the gluten tears and the dough will relax flat during the final proof.
Shaping too late: If the dough is over-proofed (very slack, very gassy), shaping cannot save it. The bread will collapse in the oven no matter how tight you shape. Better to under-proof slightly than over-proof.
After Shaping
The shaped dough goes seam-side UP into the banneton or tea-towel-lined bowl. Cold retard in the fridge for 8-16 hours for best flavor and easier scoring. If baking same-day, proof at room temperature for 2-4 hours until puffy but not doubled.