Sourdough for Beginners: Your First Loaf Guide
📖 12 min read · Updated July 2026
By SourdoughCalc Team
Sourdough has a reputation for being hard. It is not. The process is long but mostly hands-off: mix, wait, fold, wait, shape, wait, bake. If you can read a clock and stir a spoon, you can make sourdough bread. This guide walks you through the entire first loaf, from building your starter to pulling a hot, crackling boule from the oven. No prior baking experience required.
What You Will Need
Before you start, gather the basics:
- Bread flour. King Arthur Bread Flour or any brand with at least 12% protein. About 1 kg to start.
- Whole wheat or rye flour. A small amount to build your starter. 100g is plenty.
- Non-iodized salt. Sea salt or kosher salt. Iodine can slow starter activity.
- A digital kitchen scale. Accurate to 1g. This is non-negotiable for sourdough. Eyeballing is a recipe for failure.
- A glass jar. 500-1000ml, wide-mouth. For your starter.
- A Dutch oven or pot with a lid. Cast iron, enamel, or ceramic. For baking.
- A bowl. For mixing and bulk fermentation.
- A tea towel or cloth. For covering dough and lining proofing baskets.
- Time. 5 minutes a day for the first 7 days to build the starter, then 30 minutes of active work plus 24 hours of waiting for the bread itself.
Phase 1: Build Your Starter (Days 1-7)
A sourdough starter is a live culture of wild yeast and bacteria that you grow from flour and water. It is the engine of your bread. Skip the grocery store and grow your own. It is free, easy, and far better than anything you can buy.
Day 1: Mix the Starter
In a clean jar, mix 50g whole wheat or rye flour with 50g room-temperature water. Stir until smooth, no dry flour. Cover loosely (a cloth, paper towel, or loose lid) and leave at room temperature (70-78F).
Day 2: First Feeding
You may see a few bubbles. That is good. Discard half the starter (use it in pancakes or waffles), then add 50g bread flour and 50g water. Stir, cover, leave at room temp.
Days 3-6: Daily Feedings
Repeat: discard half, add 50g flour and 50g water. Once a day. By day 4 or 5, the starter should smell tangy, then fruity or yeasty. Bubbles should be visible. By day 6-7, the starter should roughly double in 4-8 hours after feeding.
Day 7: Is Your Starter Ready?
The float test: drop a small spoonful of starter into a glass of room-temperature water. If it floats, it is ready to bake. If it sinks, give it another day or two. Some starters take 10-14 days to fully activate, especially in cold kitchens.
Phase 2: Mix the Dough (Day 8)
Once your starter reliably doubles after feeding, you are ready to bake.
Step 1: Feed Your Starter
In the morning, feed your starter: 50g starter, 50g flour, 50g water. By afternoon, it should be at peak rise and ready to use.
Step 2: Mix the Dough (10 minutes)
In a large bowl, combine:
- 500g bread flour
- 350g water (75% hydration)
- 100g active starter (peak rise)
- 10g salt (2%)
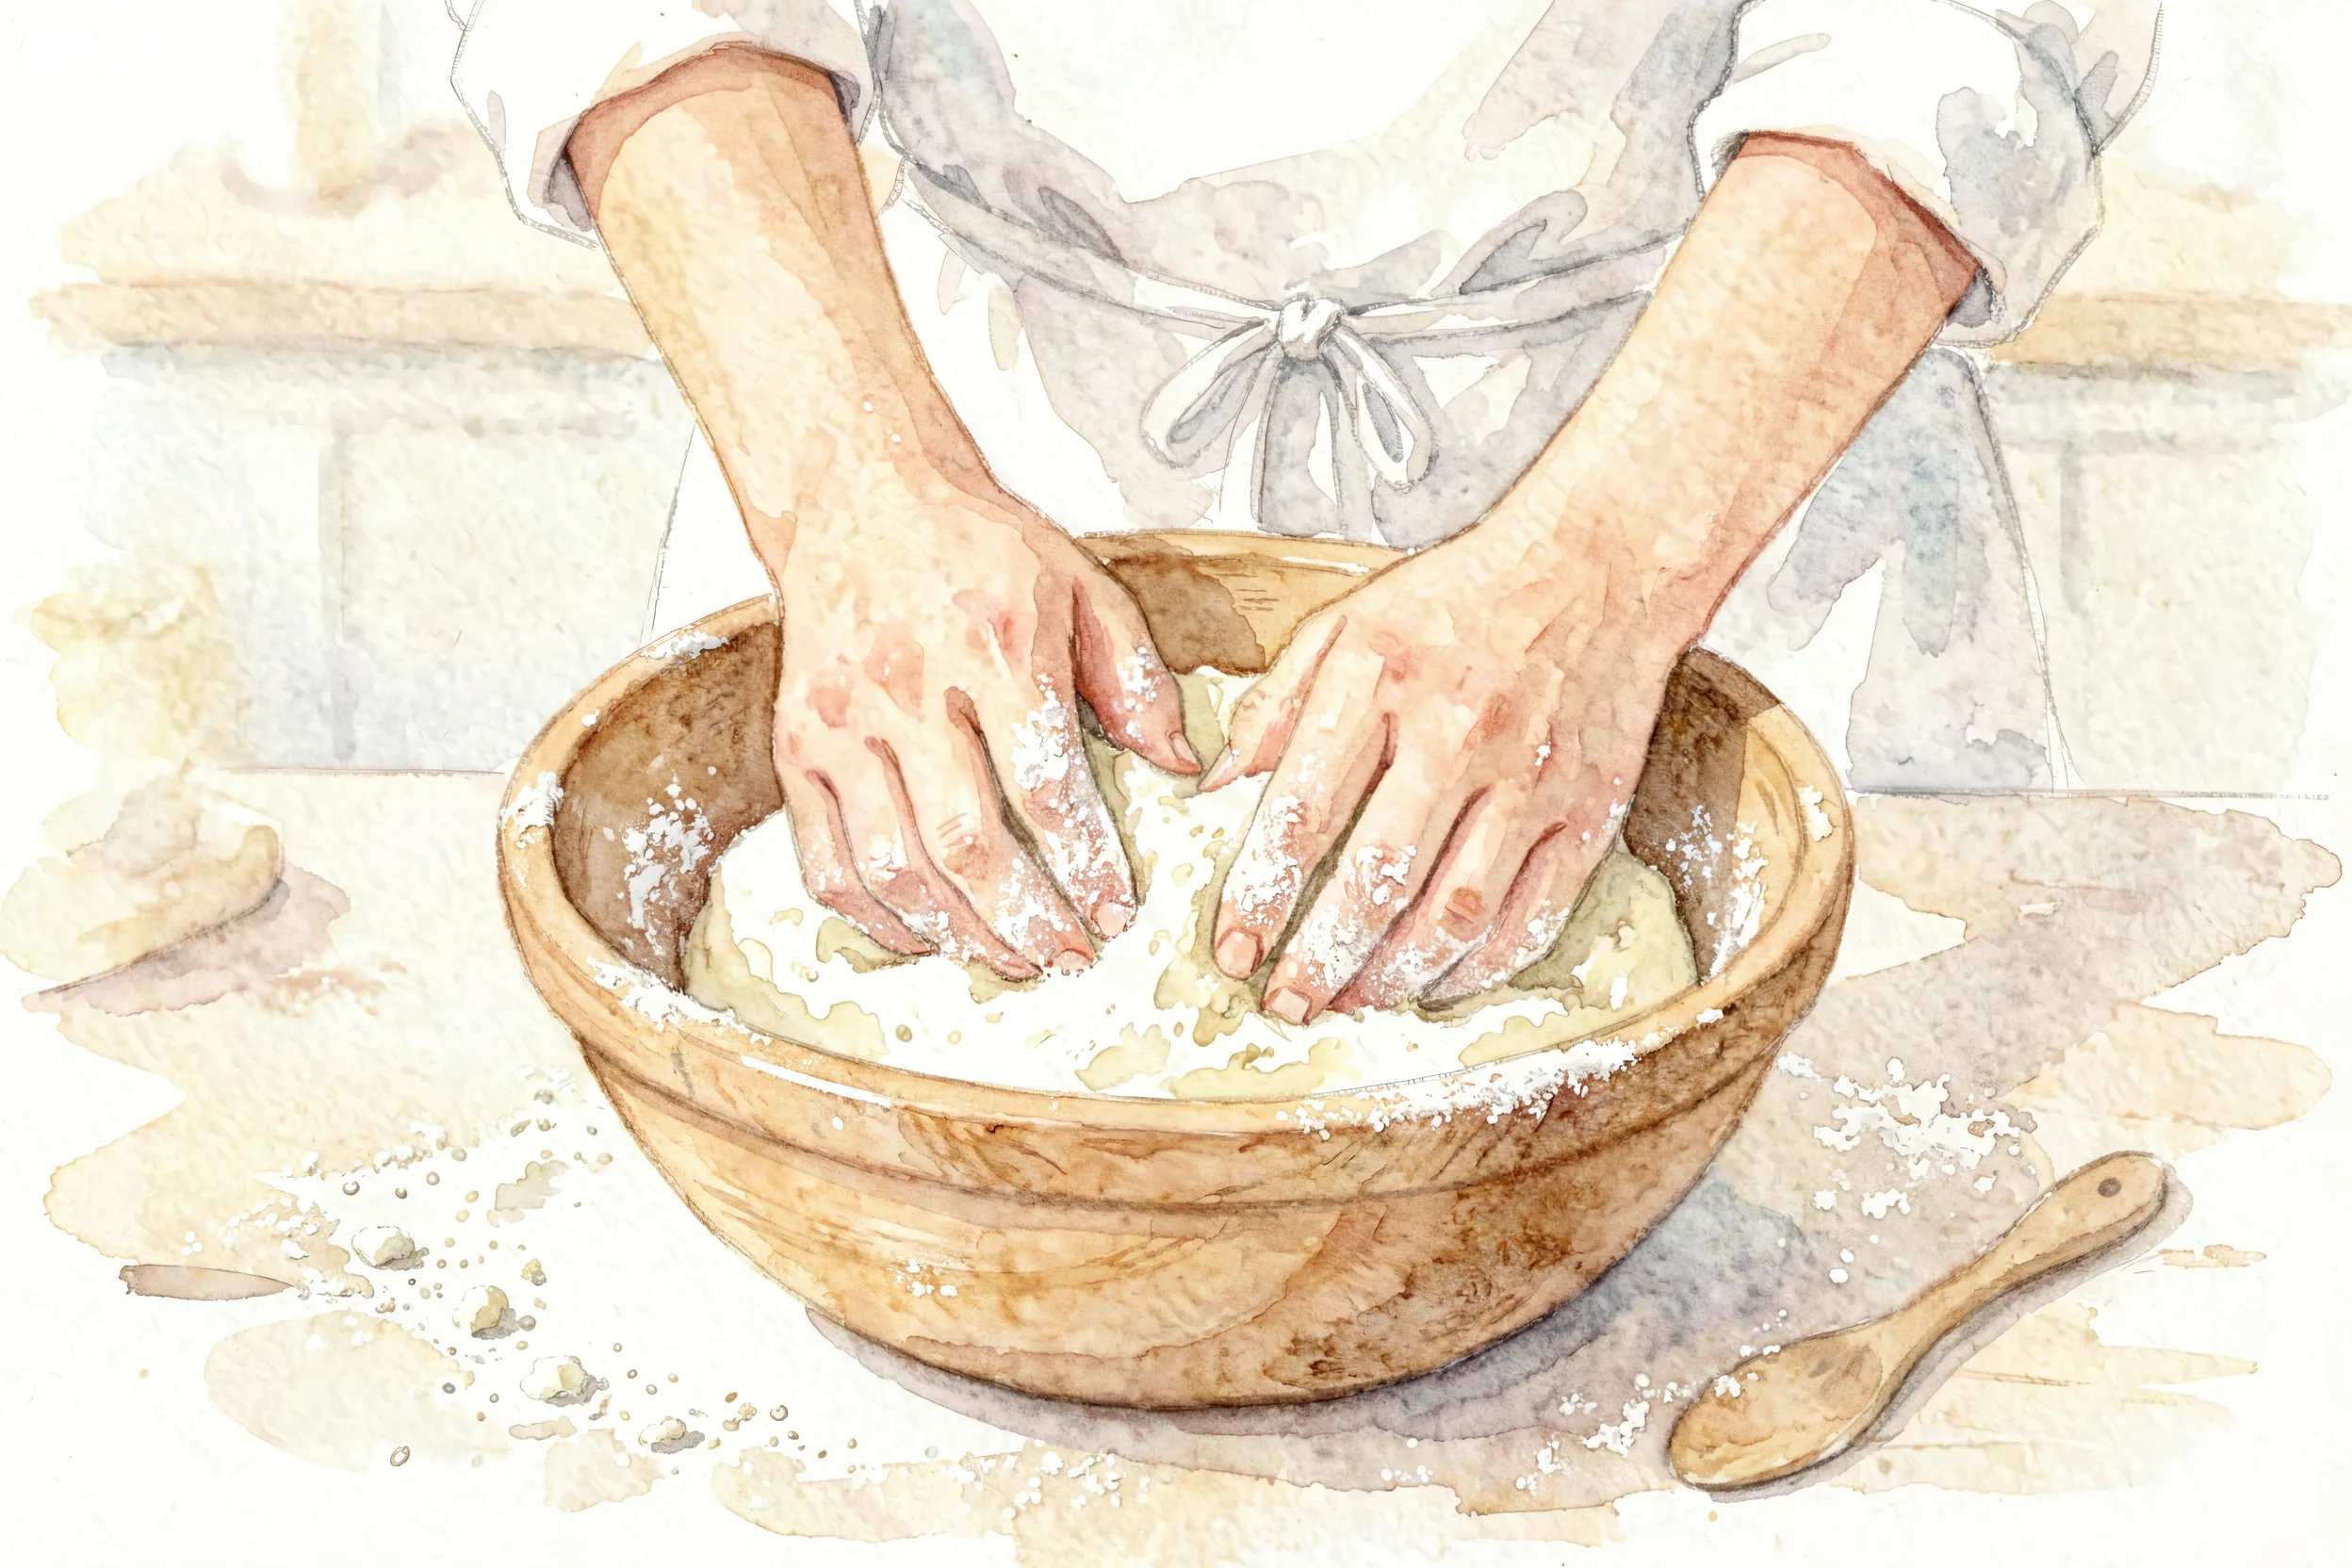
Stir with a wooden spoon or your hand until no dry flour remains. The dough will look shaggy. Cover and let it rest for 30 minutes. This is the autolyse: it lets the flour absorb water and gluten to start forming on its own.
Step 3: Add Salt
Sprinkle the salt over the dough and mix by hand or with a wet spoon until incorporated. The dough will feel softer and slightly looser.
Phase 3: Bulk Ferment (4-6 hours)
Cover the bowl and leave at room temperature (75F). Every 30 minutes for the first 2 hours, do one set of stretch and folds: wet your hand, grab one side of the dough, stretch it up, and fold it over the top. Rotate the bowl 90 degrees and repeat. Four folds per set.
After 2 hours, leave the dough alone. It is ready to shape when it has risen by 50-75%, looks pillowy and jiggly when you tap the bowl, and shows bubbles on the surface. This usually happens 4-6 hours after mixing, depending on room temperature.
Phase 4: Shape (15 minutes)
Tip the dough onto a lightly floured counter. Using a bench scraper, fold the dough into a rough round: take one side, fold to the middle. Repeat from the other three sides. Flip the dough over and, with cupped hands, drag it gently toward you on a clean counter to build surface tension. Repeat 3-4 times until the surface feels tight and the dough holds a round shape.
Place the shaped dough seam-side up in a bowl or banneton lined with a floured tea towel (rice flour is best, but all-purpose works). Cover with plastic wrap or a towel.
Phase 5: Cold Proof (12-16 hours)
Put the shaped dough in the fridge. Leave it overnight or up to 16 hours. The cold slows fermentation and develops deeper flavor. This step is the secret to that signature sourdough tang.
Phase 6: Bake (1 hour)
Place your Dutch oven (lid on) in a cold oven. Preheat to 500F. After 45 minutes, the Dutch oven is screaming hot.
Take the dough out of the fridge. Flip it onto a piece of parchment paper. Using a sharp blade or lame, score the top in one quick, confident motion: a single slash about 1/2 inch deep, or a crosshatch if you want the rustic look.
Lift the dough by the parchment paper and lower it into the hot Dutch oven. Cover with the lid. Bake for 25 minutes covered (this is where the crust sets and the bread springs up). Then remove the lid and bake 20-25 minutes more until the crust is deep golden brown.
The internal temperature should be at least 205F when done. If you do not have a thermometer, tap the bottom of the loaf: it should sound hollow.
Phase 7: Cool (1 hour)
Resist the urge to cut into it for at least an hour. The inside is still cooking. Cutting early gives you a gummy crumb. Wait 1-2 hours for the best texture.
What to Expect on Day 1
Your first loaf will probably not be perfect. That is normal. The crumb might be tight, the crust might be pale, the shape might be flat. None of that means you failed. It means you baked bread, which is more than most people have done.
By your third or fourth loaf, you will start to see what your starter, your kitchen, and your flour are doing. By your tenth loaf, you will be adjusting hydration, tweaking timing, and confidently making changes. The first loaf is a lesson. The fifth is a skill.
Common First-Time Mistakes
Skipping the autolyse. The 30-minute rest after mixing is when gluten develops for free. Skipping it means you have to knead longer.
Under-fermenting. Most beginners cut bulk fermentation too short. If the dough has not risen by 50%, give it more time. Cold kitchens take longer.
Cutting the dough. Use a bench scraper, not a knife, to handle dough. Knives drag and tear.
Cutting the loaf too early. Wait 1-2 hours. Gummy crumb is almost always from cutting too soon.
Giving up after one loaf. Loaf 2 is better than loaf 1. Loaf 3 is better than loaf 2. Keep going.
Caring for Your Starter Long-Term
After this first bake, you have a starter for life. To keep it happy:
- Store in the fridge between bakes.
- Feed weekly: discard half, add 50g flour and 50g water, stir, return to fridge.
- If you see liquid (hooch) on top, that is normal. It is alcohol from fermentation. Stir it back in or pour it off before your next feed.
- For a dormant starter you have not fed in weeks: do 2-3 daily feedings at room temperature before using.
- Do not put it in the fridge while it is still rising. Always let it finish a feed cycle first.
The Bottom Line
Sourdough is not magic. It is flour, water, salt, and time. The starter does the work; you mostly wait. If you can commit 24 hours to a process that takes 30 minutes of your actual attention, you can make bread that tastes better than most bakeries. The hardest part is starting. Make the starter. Mix the dough. Trust the process.
Use our free hydration calculator to scale any recipe. And bookmark our complete hydration guide for the next level.
References
- Reinhart, P. (2010). The Bread Bakers Apprentice. Ten Speed Press. ISBN 978-1607741296. The classic beginner sourdough book.
- Forkish, K. (2012). Flour Water Salt Yeast. Chronicle Books. ISBN 978-1607742736. Step-by-step method with clear explanations.
- Hamelman, J. (2004). Bread: A Bakers Book of Techniques and Recipes. John Wiley and Sons. ISBN 978-0471292857.
- Suas, M. (2009). Advanced Bread and Pastry. Delmar Cengage Learning. ISBN 978-1417420440.
- Leo, M. The Perfect Loaf. Beginner Sourdough Guide. https://www.theperfectloaf.com/beginners-sourdough-bread/. Accessed 2026.
- King Arthur Baking. Sourdough Bread Guide. https://www.kingarthurbaking.com/resources/sourdough. Accessed 2026.