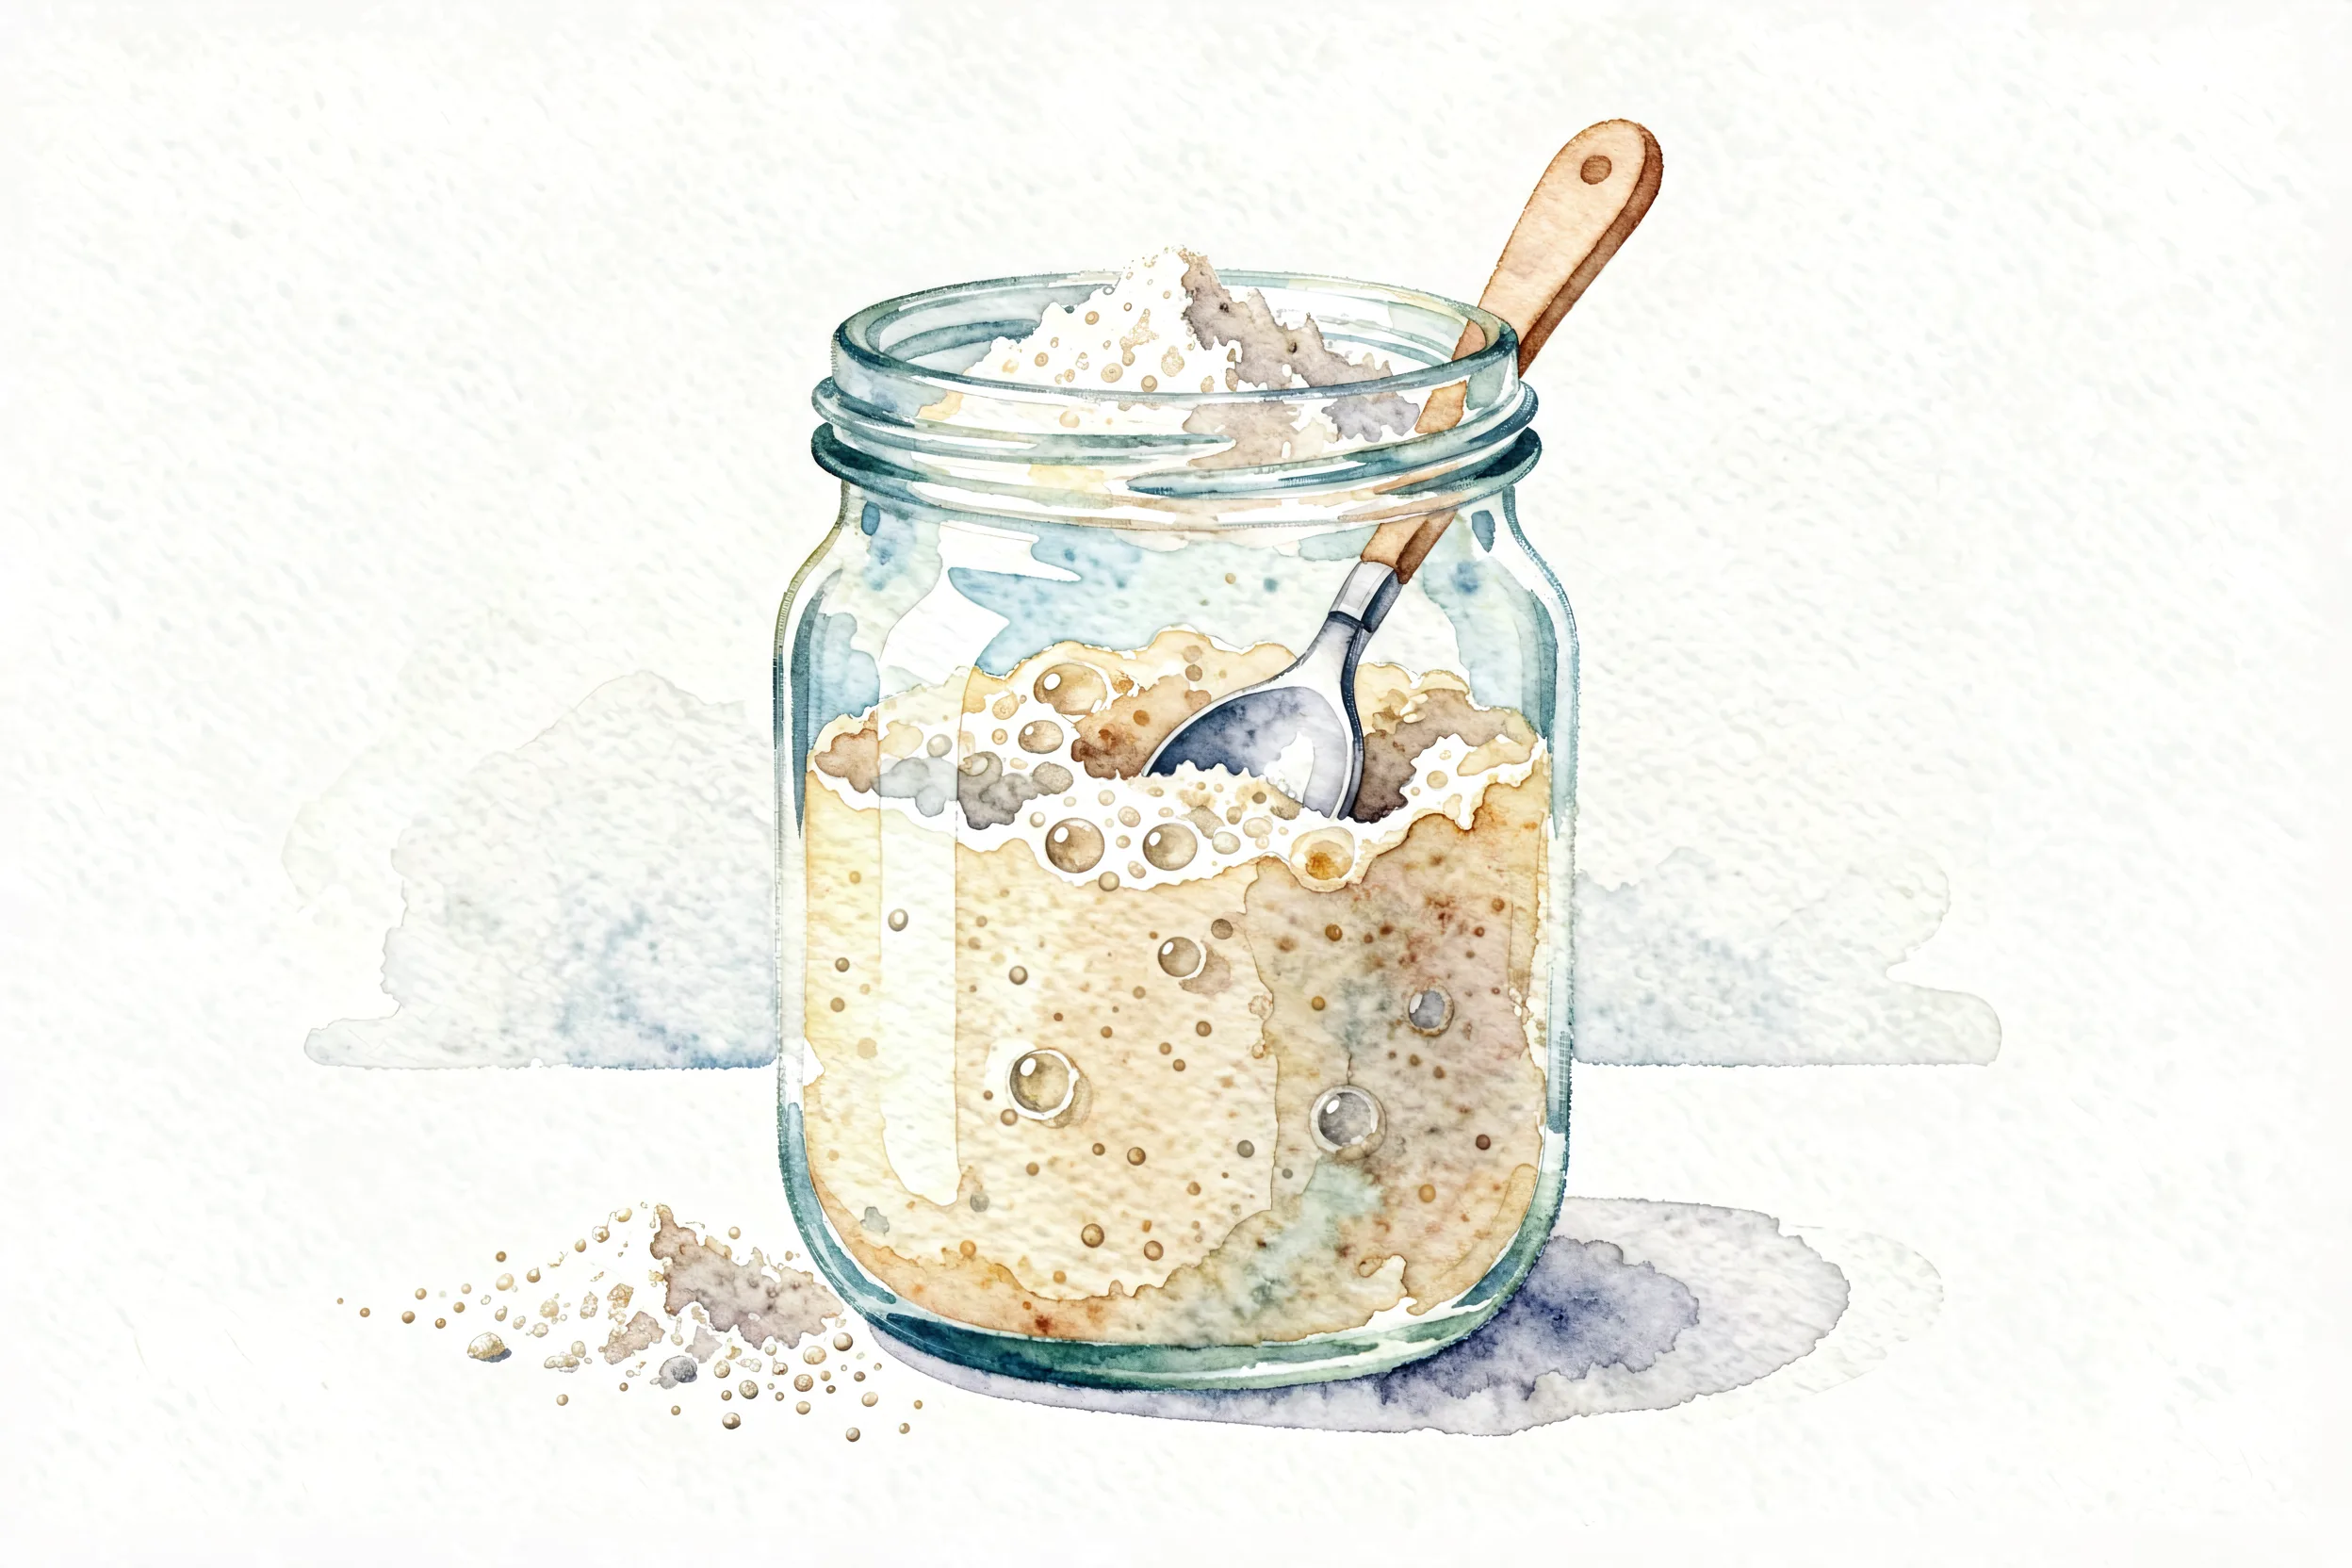
How to Make Sourdough Starter from Scratch: A 7-Day Complete Guide
📖 10 min read · Updated July 2026
By SourdoughCalc Team
A sourdough starter is a living culture of wild yeast and lactobacilli bacteria, captured from the air around you and fed daily with flour and water. Once alive and active, it will leaven bread for the rest of your life. This guide walks you through the first seven days from flour + water to a vigorous, reliable starter.
What You Need (Day 0)
- Flour: 100g whole wheat or rye flour (organic if possible). Whole-grain flours have more wild yeast and bacteria on the grain surface, so they catch a culture faster than white flour.
- Water: 100g filtered or dechlorinated water. Chlorine inhibits microbial growth, so let tap water sit out for 24 hours if you have no filter.
- Jar: A clean glass jar (about 500ml) with a loose lid or cloth cover.
- Scale: A kitchen scale that measures in grams. Eyeballing flour and water will not give you consistent results.
Day 1: Mix and Wait
Combine 50g whole wheat flour with 50g water in your jar. Stir until no dry clumps remain. The consistency should be similar to thick pancake batter, roughly 100% hydration. Mark the level on the jar with a rubber band or tape. Cover loosely and leave at room temperature (70-78°F is ideal).
Day 2: First Feeding
You will likely see no activity yet. The flour is just hydrating. After 24 hours, discard half of the starter (about 50g) and feed it with 50g flour and 50g water. Stir, mark the level again, and wait. The wild yeasts are just beginning to wake up.
Days 3-5: The Boring Middle
Repeat the discard-and-feed process every 12 hours. Around day 3 or 4 you will start to see small bubbles and a slightly sour, almost yogurt-like smell. The starter may rise slightly between feedings. This is normal. Do not panic if you see no activity yet, wild yeasts take time to establish.
Day 6: The Explosion
By day 6 or 7 the starter should be reliably doubling in volume 4-8 hours after feeding. It will smell tangy and pleasantly sour, with a domed or pillowy top. If you drop a spoonful into water, it should float. A floating starter is the traditional sign of readiness.
Day 7: Ready to Bake
Your starter is alive. From here on, store it in the fridge and feed it once a week. Pull it out the night before you want to bake, give it 2-3 feedings at room temperature, and it will be ready to leaven bread. If you bake daily, leave it on the counter and feed twice a day.
Troubleshooting
- No bubbles at all by day 4: Your water may have too much chlorine, or your kitchen may be too cold. Move to a warmer spot (75-80°F, like on top of the fridge).
- Starter smells like acetone (nail polish): It is hungry. Feed it twice in a row, 4 hours apart.
- Starter smells bad (rotten, chemical): It has contamination. Discard most of it, keep just a tablespoon, and restart from day 1.
- Starter rises and falls too fast (less than 3 hours): It is too warm or you are over-feeding. Move to a cooler spot and reduce the feeding amount.
Why Whole Grain Works Best
Whole wheat and rye flours carry more wild yeast and bacteria on the surface of the grain than refined white flour. This makes them a far better medium for capturing a starter in the first 5 days. Once your starter is active and reliable, you can switch to white flour for feeding, but many bakers keep at least some whole grain in the mix for flavor.
From Here On
You now have a living starter that will leaven bread for years. To convert any bread recipe to work with your new starter, you need to know the baker's percentage of hydration, salt, and starter. Our free hydration calculator handles this for you. Feed your starter, weigh it, plug in the numbers, and you can bake any sourdough recipe you find.
Want a day-by-day timeline for actually using the starter to bake? Read our 24-hour sourdough schedule next.